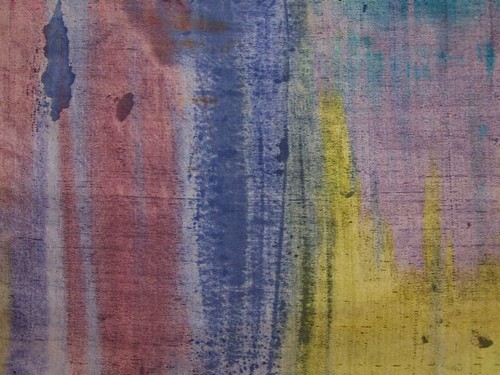
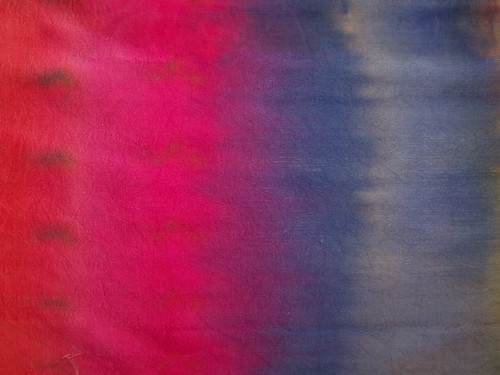
A wonderful course with Ruth Issett at Creative Days Ticino last week has made possible a long-overdue update on my satin dyeing experiments.
It seems that my difficulties were not related so much to the dyeing chemicals and processes, but to the unusual qualities of the particular silk satin I was using! Too bad it took me two years to realize this…
I had purchased several yards of white silk satin from the Silk Connection years ago and have painted and dyed it with various products and processes. The dye processes – whether with cold-water immersion in Procion dyes or hot-water immersion in acid dyes – all resulted in a strangely puckered surface and back. The fabric also took on a strange springy quality and became rigid in the weft direction. Painting worked better, but the color tended to wear away in tightly worked areas.
Last week, Ruth Isset showed 16 eager textile lovers her simple method of dyeing with Procion MX fiber reactive dyes. Procion dyes work in cold water and I had tried them with a friend a few years ago, using a low-water immersion method. Ruth paints the dyes onto the fabric rather than immersing it. This allows her to control the placement of colors somewhat (though there are always big surprises), and it’s simply neater and simpler. In the class, we worked with all sorts of natural fabrics and threads – cotton, linen, hemp, viscose (an artificial material made up of natural fibers) and silk. Procion fiber reactive dyes work with all plant fibers and, delightfully, with silk too even though it’s an animal fiber. The Dharma Trading Co.’s website is full of wonderful information and ideas to confuse a dyeing newbie.
We printed and stitched our fabrics and then painted on the dye.
In spare moments, I tested my satin – first painting the dye on in the normal way and then preceding with a soak in soda solution. Luckily, I brought along some white Indian satin and a bridal satin from Milan. This is how I discovered that the problem is in the particular satin.
The satin from Silk Connection acted almost impermeable, as if it had a waterproof coating. Only when soaked first in soda solution did it allow the dye to penetrate. And, like the other times, it took on a strange springy consistency. It seems that the warp and weft threads have different twists. One shrinks or stiffens in the moisture and strange effects follow.
The Italian bridal satin and the Indian thangka satin, on the other hand, drank the dye thirstily and spread it smoothly. They took on beautiful colors and remained soft and supple.
Having discovered this, I returned to my room and ordered swatches of all the silk satins I could find on the internet. Hopefully, I’ll find a few dye-thirsty candidates with smooth shimmering surfaces that don’t cost a fortune. Will keep you posted!


I love, love, love what you did at your workshop… that is simply beautiful! And how lovely that you were able to discover that the silk you were using wasn’t quite working the way you wanted it to, and finding the secret to a better dye! I look forward to seeing you next week! 🙂
What terrific news! Looks like you’ll soon have a whole new palette to work from. The finishes that are put on fabrics make all the difference in the world. (I guess I’ll keep mine white!)
Well done!
Thanks Lisa and Louise! Yes, good idea to leave that satin white; it’s beautiful as is. We’ll find some other satins to color.
Bellissimo Leslie, l’anno prossimo ci sar
Grazie Linda!
Sicuramente vale la pena! Marlis invita sempre insegnanti meravigliose. Ed
Thank you for an excellent posting. My partner and i valued the critical thinking you put straight into it. I truly think I’ll look over a lot more you’ve writen around the theme. Thanks again!
Hi Paulette.
It’s great to know that my experiments are helpful to others! What are you and your partner working on?
love what you’re doing here. Please tell me, did you do soda sol’n soak for Italian bridal satin and the Indian thangka satin?